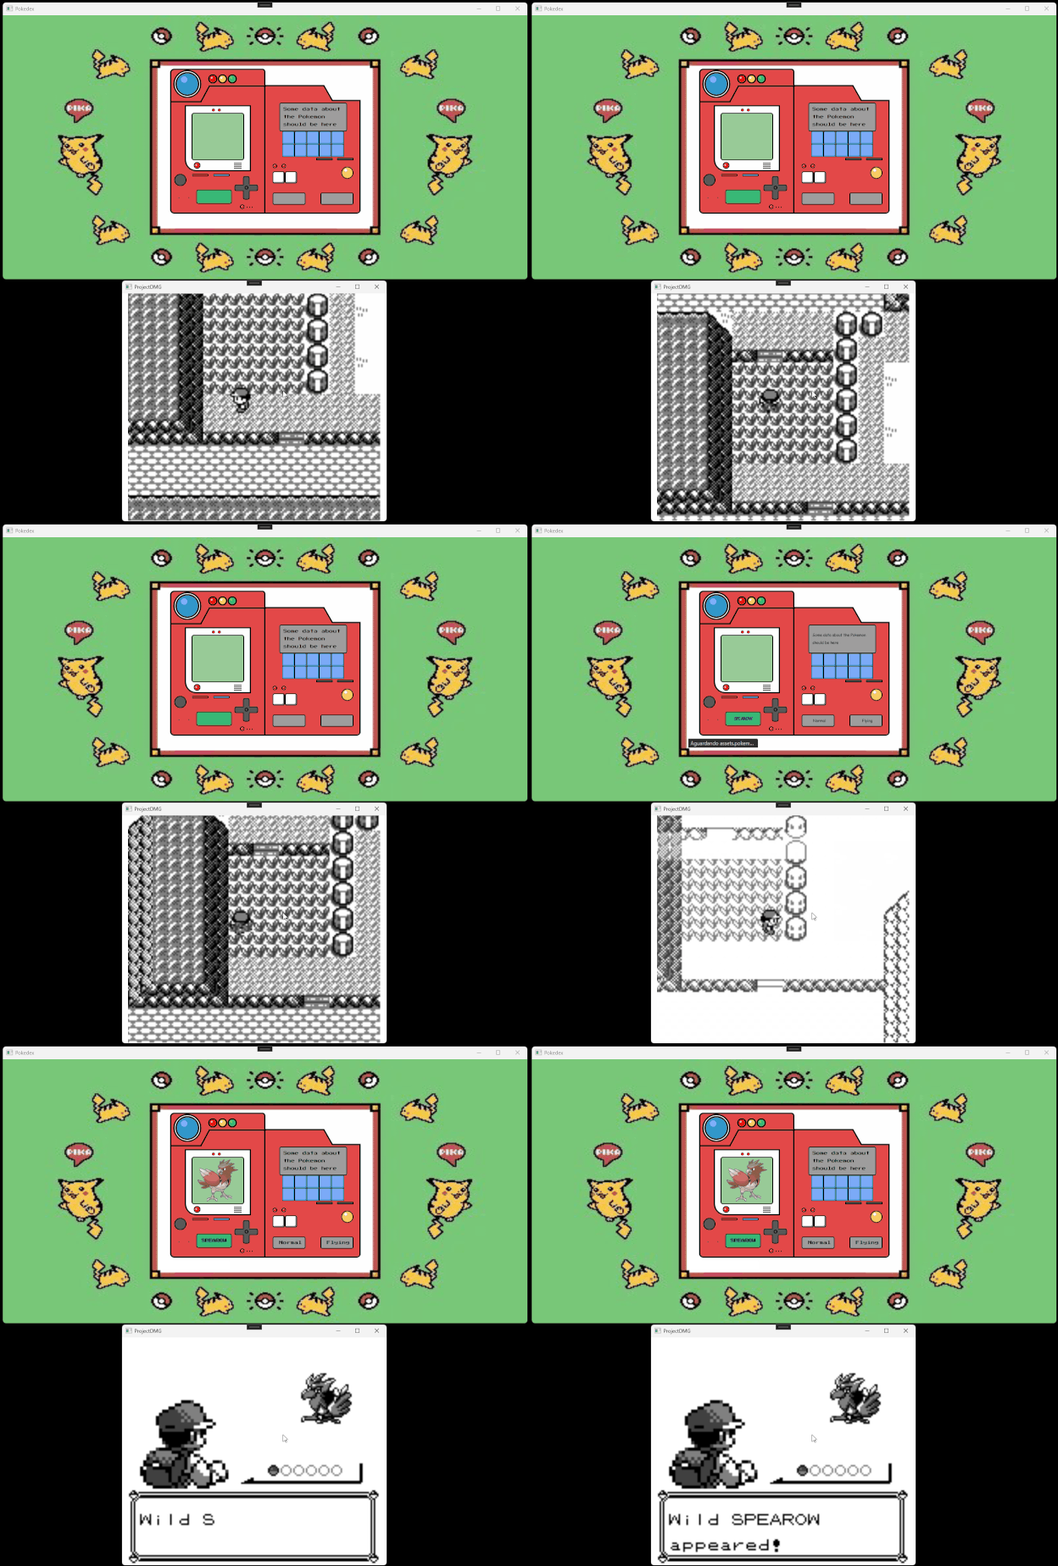
In our last post, we created an API that notifies whenever a value has been changed. Now, it’s time to consume that API! The plan is to register every Pokemon encounter (both wild and trainer battles) in Elasticsearch, so we can use it for statistics and information in a future scenario.
GitHub Repository
In case you want to skip the explanations, you can find the source code in this GitHub repository.
Setting up Elasticsearch
Elasticsearch can be easily set up with Docker, and thanks to Eddie Mitchell, we already have a very good docker-compose file that does all of the required work. We will only be removing the Filebeat and Logstash services, as they are not needed at the moment. You can find the resulting docker-compose.yml file here.
Connecting to Elasticsearch
To facilitate connecting to our Elasticsearch node, we can use Elastic’s library. It can be installed through the following command in the Package Manager console:
Install-Package Elastic.Clients.ElasticsearchNow that we have it installed, let’s analyze how we can create an Elasticsearch client, responsible for communicating with Elastic. We first need to create an ElasticsearchClientSettings instance, providing it the address of our Elasticsearch node. Then we proceed by wrecking our security with ServerCertificateValidationCallback((, , , ) => true), just so we don’t have to configure our certificates properly. Finally, we provide it with an authentication request header, that uses the elastic:elastic credentials.
It’s important that we store our freshly created client somewhere, so we can reuse it later, instead of creating a new one every time. This is recommended by Elastic, due to the following reasons:
- initialization overhead is limited to the first usage.
- resources such as TCP connections can be pooled and reused to improve efficiency.
- serialization overhead is reduced, improving performance.
Creating the Elasticsearch index manually
Elasticsearch can automatically map all the properties for us, but the performance can be better if we give it a hand. For example, for every string property, Elasticsearch will create both a keyword and a text type, and it’s not like we need both of them. The difference between them is that Elasticsearch will use an inverted index when storing text values. In simple terms, it allows us to perform full-text searches. You can read more about it here if you are interested. Let’s analyze the PokedexIndexer.cs class, responsible for the operations regarding this specific index.
In the constructor, we ensure that the index exists by calling the CreateIndex method. In this method, we first check if the index already exists, so we don’t try to duplicate it. Then we create a CreateIndexRequestDescriptor, where we specify every property that we want to map. Here you can see how we use the keyword type for some properties, and text for others. In the end, we call the Create method that is self-explanatory. We also have the Index method in this class, which we will be using soon enough.
Indexing Pokemon encounters
Now that we have our infrastructure ready to be used, it’s time to send data. For that, we will use the API described in a previous article. The first thing we need to do is to establish when to index the information. For that, we are going to monitor the enemy’s Pokemon name, so that every time it changes, we can assume that a new encounter has happened. To our advantage, as we saw in the mentioned article, we will get an update notification for it, even if the name doesn’t change. That means that when we face those fishermen with 6 Magikarps, we will correctly identify them as 6 different Pokemon. Let’s see some code now.
If you read the other article, the AddBattleStartedSubscription method should be simple to understand. We just specify the address range to observe, the other relevant addresses that we also want to index, and then create the subscription.
In the PokemonNameChanged, we start by calling the CreatePokemonInformation method. Inside it, we first check if the Pokemon name is not empty, then get the Pokemon types with the help of our ByteToPokemonTypeConverter class. The types are simply represented by a number, so all we need to do is a mapping operation.
We then have a simple logic for checking if it is a trainer or a wild battle. That’s important since we wouldn’t like to waste hours trying to find a Pokemon wrongfully logged as a wild encounter. And then finally we create an instance of PokemonInformation, and return to PokemonNameChanged method.
With the information in our hands, we now update the Pokedex window by calling the UpdatePokemon method. We won’t be covering the internals of it in this article, as it mostly involves WPF, HTML, and WebView2, while our focus here is Elasticsearch. Feel free to check the source code if you are curious. I’d just like to credit u/Jaxtronaut for the background image used here.
After updating the Pokedex, all we need to do is call the Index method and that’s it!