As we’ve seen in the previous article, GitHub Actions is Github’s CI/CD platform, that allows us to automate several steps of our deployment through workloads. Previously we saw how to build and test our project, but now, let’s take an extra step. In this article, we will cover how to automatically publish our Azure Functions app. If you have any questions about how the project reached its current state, feel free to browse through the previous articles.
Creating the workflow
Adding a Secret
First of all, let’s lay the groundwork. In order for us to publish our code to Azure, we will need a lot of information. Luckily for us, Azure easily provides that. Go to your Functions App page, click on “Get publish profile”, and save that file somewhere.

Now let’s create a Secret in which we will store the sensitive data that we have just downloaded. The advantage of using it is that we don’t need to make it available in our repository, so connection strings, passwords, and more are kept safe from malicious users, while benevolent users can still automatically trigger pipelines.
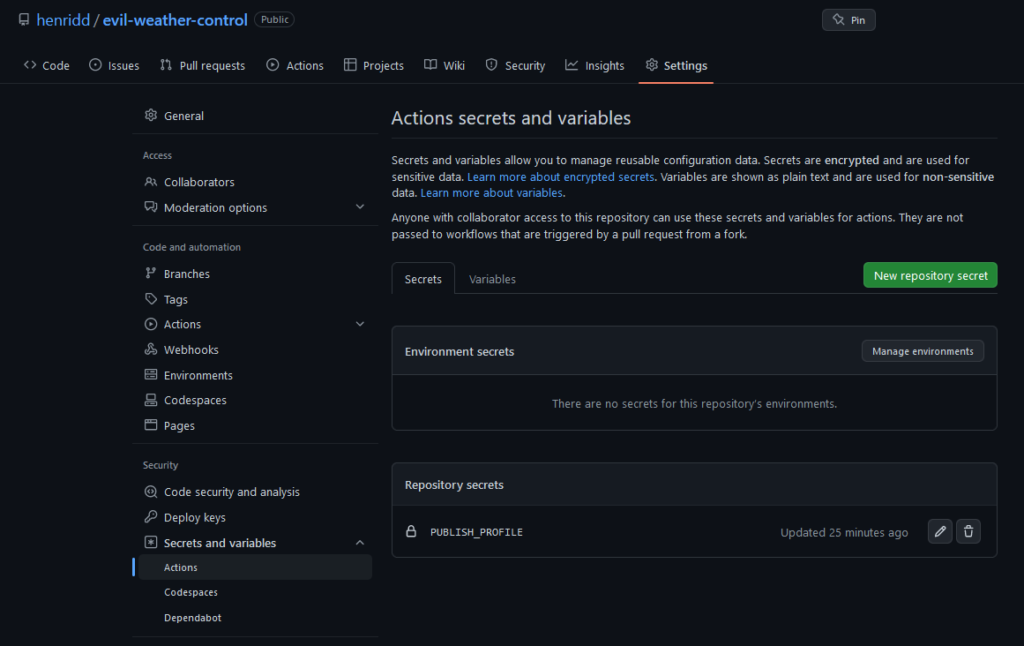
We can find the Secrets page in our repository settings, then Secrets and Variables > Actions. Click on “New repository secret” and it will prompt us the name and the value. Let’s name it “PUBLISH_PROFILE”, and as for the value, copy the content of the publish profile that you downloaded earlier.
Creating the YAML file
Since we are working on a solution with an existing workflow file, we could modify that one. But in the end, it will be easier to just create a new one. It is important to note that, if you are in a production scenario, for example, it’s not recommended to create a new file, as you will lose your git history.
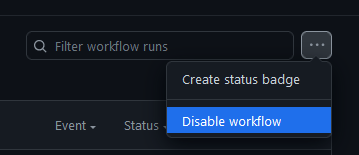
Moving on, before we create our new file, let’s disable our old workflow so we don’t trigger unnecessary pipelines. Go to Actions, select the workflow and click on the “…” button, and then “Disable workflow”.
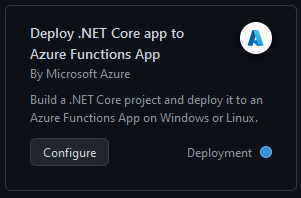
After that, click on “New workflow” and choose “Deploy .NET Core app to Azure Functions app”. It will generate a YAML file which is almost ready for us, we just need to make some changes since we also want to test our code. So, replace the generated YAML with the one below.
name: Build, test and deploy Deploy DotNet project to Azure Function App

on:
  push:
    branches: [ "main" ]
  pull_request:
    branches: [ "main" ]

env:
  AZURE_FUNCTIONAPP_NAME: EvilWeatherControlApp
  AZURE_FUNCTIONAPP_PACKAGE_PATH: EvilWeatherControlApp\published
  CONFIGURATION: Release
  DOTNET_VERSION: 6.0.x
  WORKING_DIRECTORY: EvilWeatherControlApp
  TESTING_DIRECTORY: EvilWeatherControlApp.Tests

jobs:
  build-and-deploy:
    runs-on: windows-latest
    steps:
    - name: 'Checkout GitHub Action'
      uses: actions/checkout@v3

    - name: Setup DotNet ${{ env.DOTNET_VERSION }} Environment
      uses: actions/setup-dotnet@v3
      with:
        dotnet-version: ${{ env.DOTNET_VERSION }}

    - name: Build
      run: dotnet build "${{ env.WORKING_DIRECTORY }}" --configuration ${{ env.CONFIGURATION }}

    - name: Test
      run: dotnet test "${{ env.TESTING_DIRECTORY }}" --verbosity normal

    - name: Publish
      run: dotnet publish "${{ env.WORKING_DIRECTORY }}" --configuration ${{ env.CONFIGURATION }} --no-build --output "${{ env.AZURE_FUNCTIONAPP_PACKAGE_PATH }}"

    - name: 'Deploy Azure Functions Action'
      uses: Azure/functions-action@v1
      with:
        app-name: ${{ env.AZURE_FUNCTIONAPP_NAME }}
        package: ${{ env.AZURE_FUNCTIONAPP_PACKAGE_PATH }}
        publish-profile: ${{ secrets.PUBLISH_PROFILE }}
Some of the fields have already been explained in the previous post, so I will skip those. Let’s analyze the other ones, such as what we have in “env“. We define variables here so it’s easier to maintain, since it prevents us from having to replace multiple strings throughout our YAML file, for example. The names should be pretty self-explanatory.
There are a couple of differences in our “jobs“. We are now providing which projects we are publishing, and which ones we are running tests. Then we added the Publish, which prepares our build artifacts for publishing, and then we call “Deploy Azure Functions Action” to, guess what, deploy our app. Did you notice that the publish-profile value is getting its value for secrets and not env? Yep, that’s the secret we added earlier.
Conclusion
If you have been following this repo since the last post, I suppose you could realize how a minor enhancement in our pipeline can add quite a bunch of complexity. But of course, it’s worth it as we have one less manual process to worry about. One point of improvement here would be for us to delete the dotnet.yaml file, since we no longer need that pipeline.