
If you’re planning on deploying your app on the cloud, going serverless can make your life so much easier. And it’s especially easy to deploy an azure functions project, since it is so straight forward. It’s not a silver bullet, of course, there are downsides to this solution. But the biggest advantage is that the only thing that you have to care about is your code. Mostly.
Setting up the code
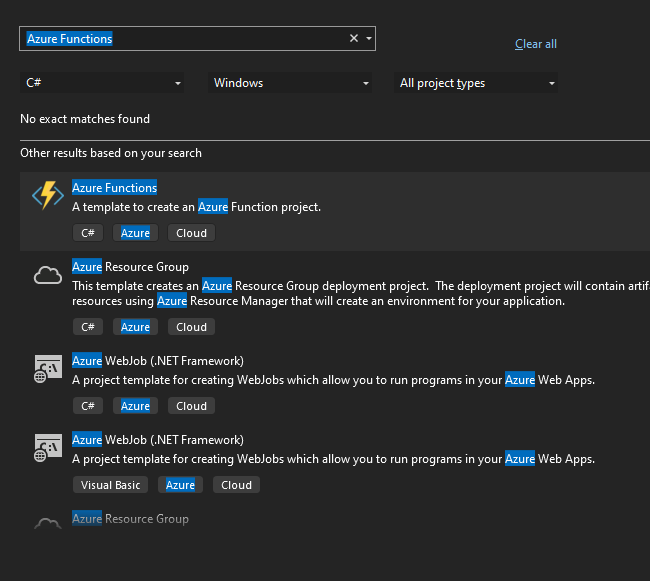
First things first, check if you have Azure’s workload, it will be needed for our new project. Then, open your Visual Studio and create a new Azure Functions project.
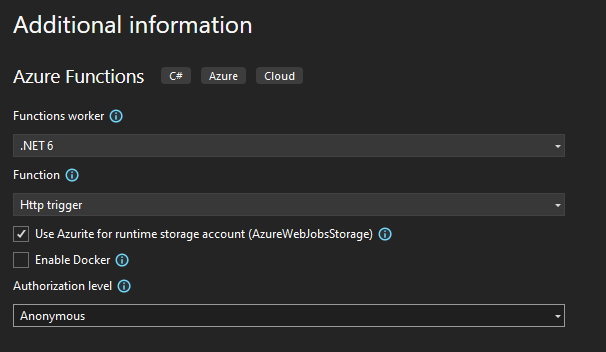
Choose a name to your liking, and on the Additional information screen, set the following properties:
- Function: Http trigger
- Authorization level: Anonymous
After that, Visual Studio will create the classes that we need, along with an example code. Replace it with the code below, and then let’s analyze each of its pieces.
public static class Function1
{
    [FunctionName("SetWeather")]
    public static async Task<IActionResult> Run(
        [HttpTrigger(AuthorizationLevel.Anonymous, "post", Route = "{country}/Weather")] HttpRequest req,
        string country,
        ILogger log)
    {
        string requestBody = await new StreamReader(req.Body).ReadToEndAsync();
        var data = JsonConvert.DeserializeObject<WeatherControlRequest>(requestBody);

        if (data == null)
            return new BadRequestObjectResult("Invalid body");

        var message = $"Evil powers have been requested for {country}! Weather: {data.Weather} Duration: {data.Duration}";

        log.LogInformation(message);

        return new OkObjectResult(message);
    }
}
public class WeatherControlRequest
{
    public string Weather { get; set; }
    public int Duration { get; set; }
}
The name of the function and the method don’t really matter, what we actually use when calling our method is what we provide to the Route in the HttpTrigger attribute, as you’ll be able to see when we run our application. As you can see, we are also receiving a country parameter, which matches with what we have in our route. It’s really important that they are exactly equal, otherwise our program will crash horribly. And finally, we have a log parameter that’s given to us without us having to do anything. Neat.
The rest is pretty much standard code for handling HTTP requests, so I will not go into details in this tutorial. Let’s run our application and see what we get.
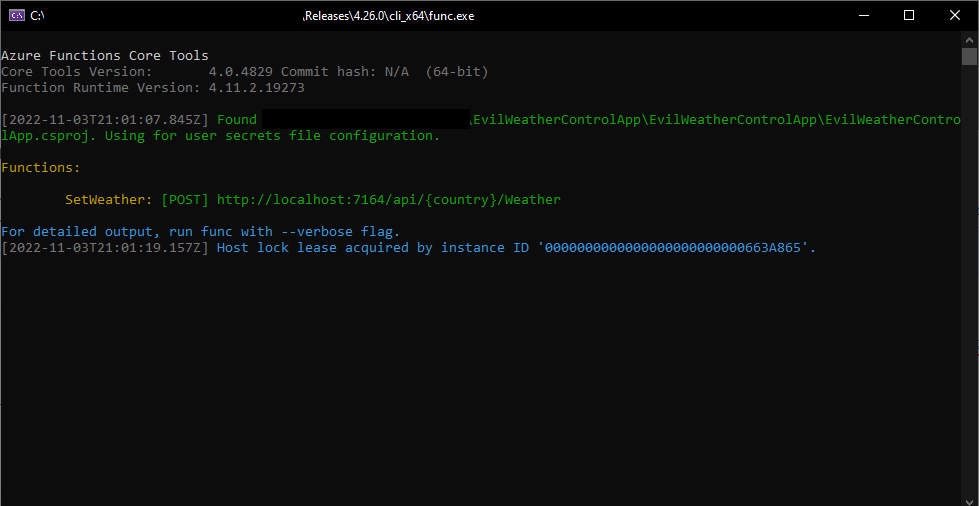
There it is, our function ready to be used. Let’s give it a shot with Postman. Below you can see our request’s body:
{
    "Weather": "Meteors",
    "Duration": 20
}
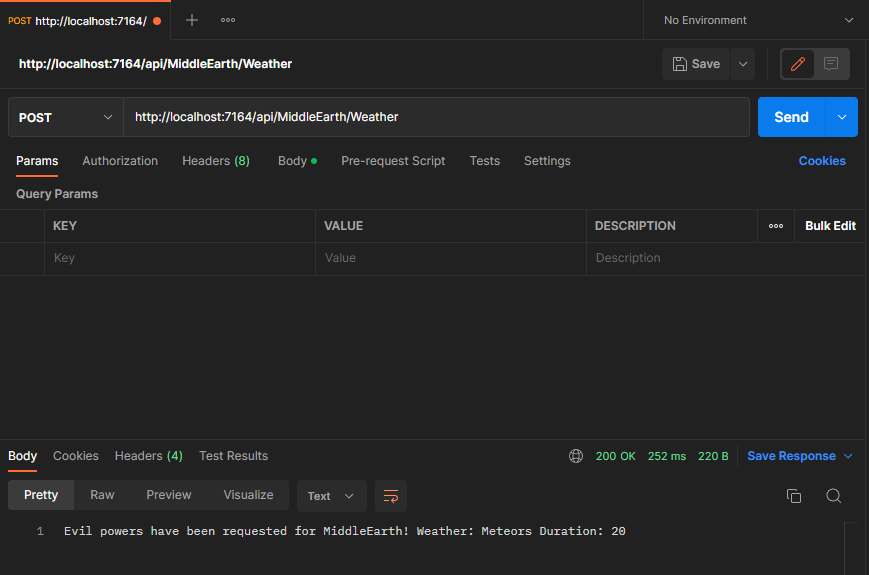
Hooray! Everything seems to be working accordingly on our local machine. Now, our next objective is to deploy it.
Deploying to Azure
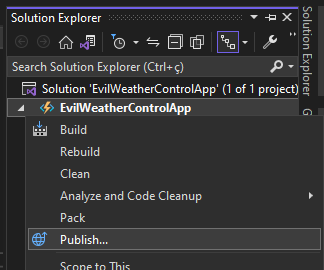
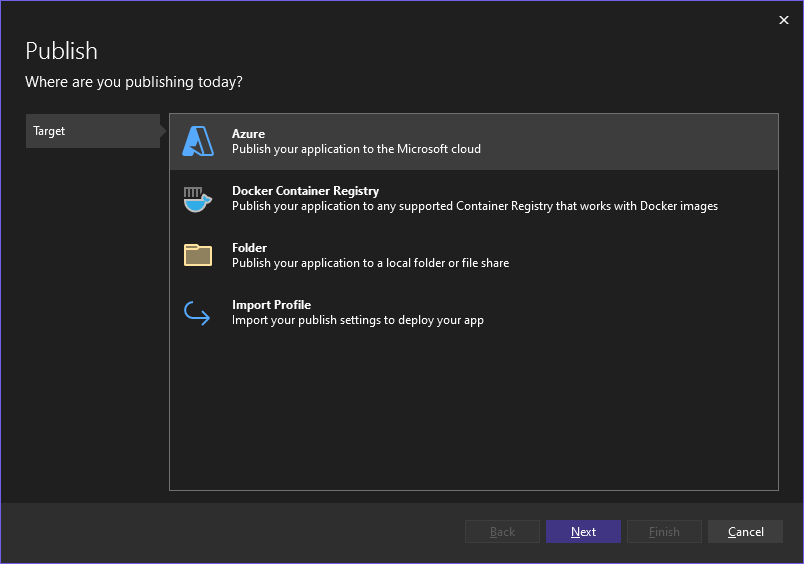
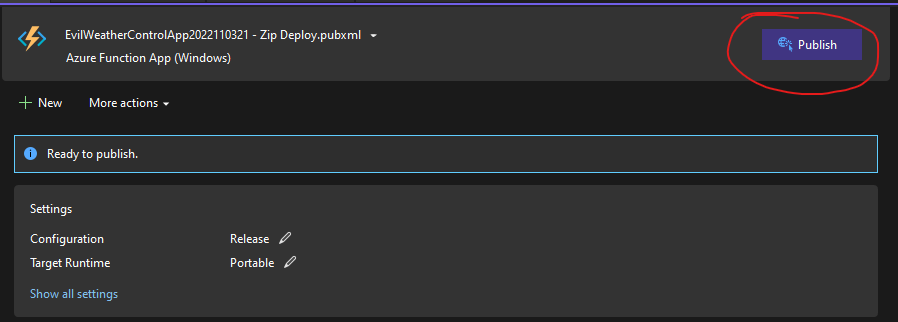
There are different ways to deploy an Azure Functions project, such as using Visual Studio, or by doing it via the Azure Portal. In this tutorial, we’ll cover how to do it via Visual Studio, since it’s easier and more suitable for our simple project. So, begin by right clicking on your solution, and follow the images below.

Be sure you have an active Azure subscription. You can create a free trial if you haven’t yet. Be mindful that it will take some minutes until everything is working, as it seems that Azure keeps caches all over the place, so it might take a while before they all get your new subscription.
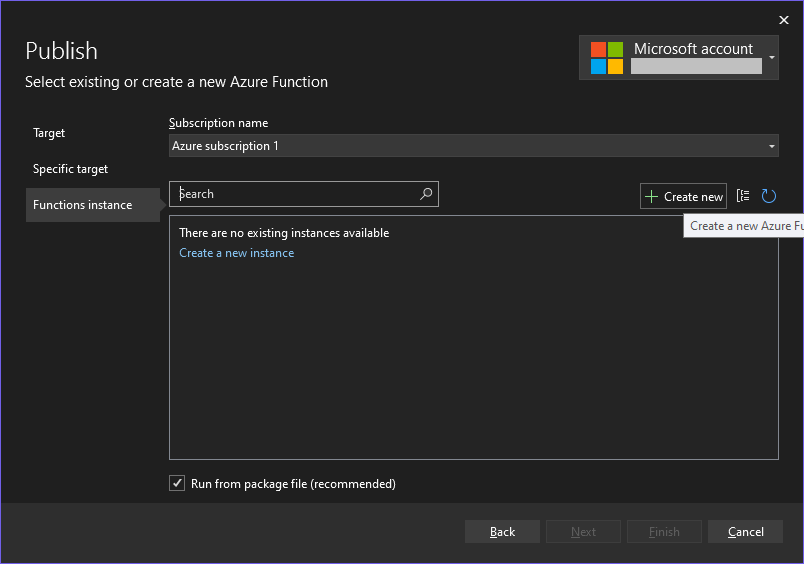
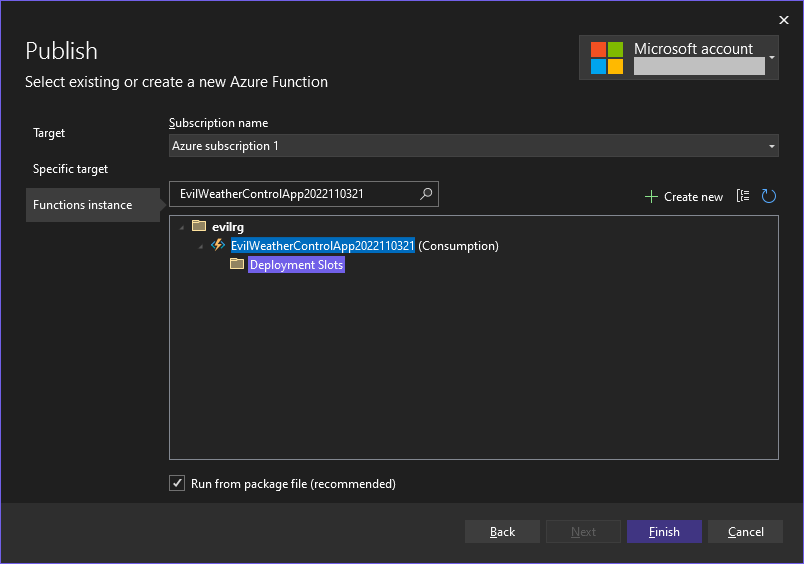
In the image above, you would see the existing instances related to your subscription. If it’s a brand new one, it will be empty. So then, let’s create a new one so we can deploy our code.
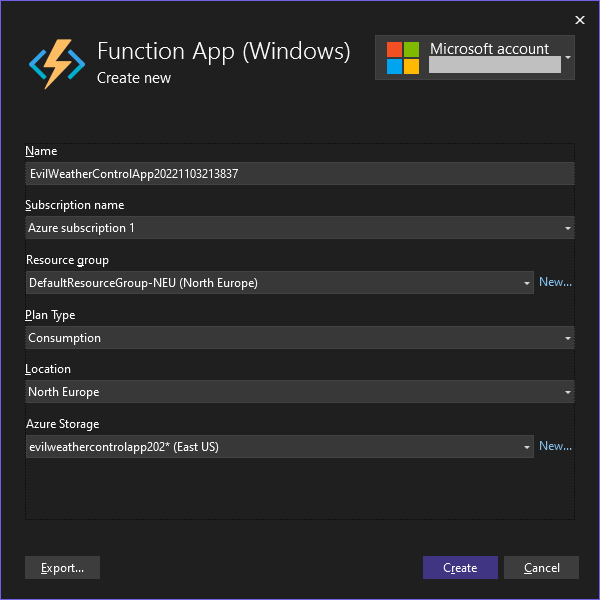
We won’t be covering the best practices regarding cloud deployment in this article. For example, it’s usually good to have your resource group, storage and location in the same place, but as you can see, it’s a bit chaotic in this case. Just pay attention to the “Plan type” field, it’s really important that you set it as consumption, otherwise you will be charged. With the consumption plan, you get a bunch of free requests per month.
If you are interested in learning more about Azure, such as what are all those different fields, best practices and so on, I suggest you head over to Microsoft Learn. There are many courses over there that can thoroughly cover all or most of Azure’s aspects.
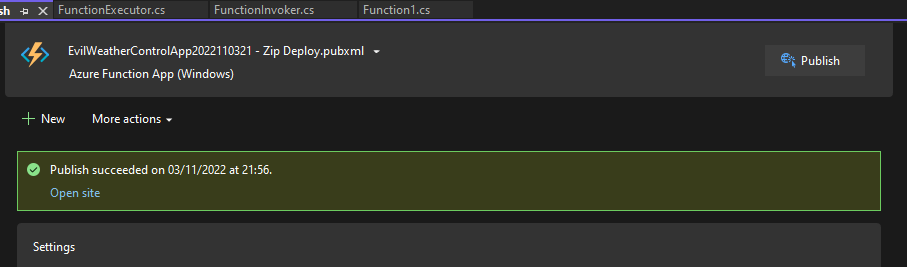
And that’s it! Our app has been successfully published. Now let’s use postman again and see if our app is working.
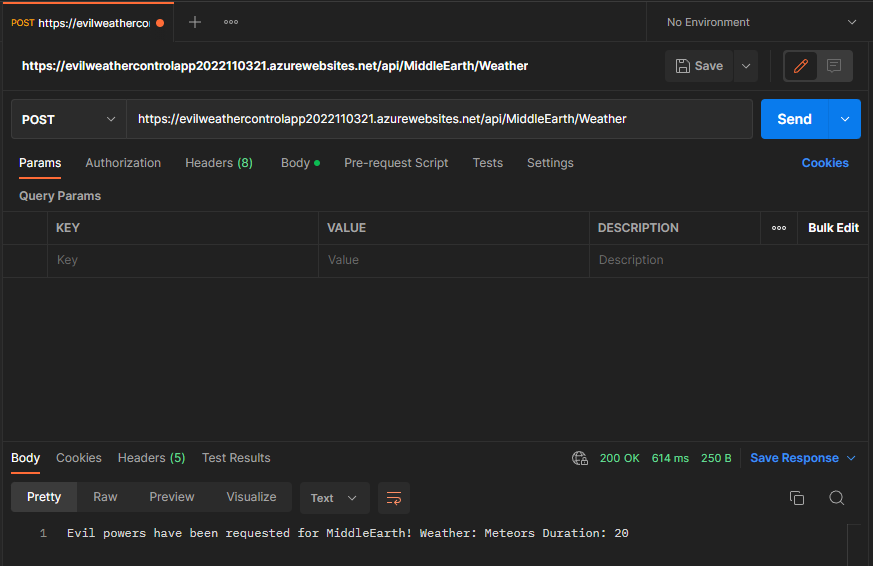
And it seems we’re good to go! Just be wary about leaving projects running in Azure on a consumption plan. For example, if somebody were to DDoS you, that might end up being a bit expensive.